
Week 7
Week 7 Description:
Week 7
Computer-controlled Machining
Assignment:
Make something BIG
Machines:
Large scale Machine
CNC Router
Drill:
Flutes – cuts down/verticle
Endmill:
Flutes – verticle/horizontal
Plywood material – Shallow cut down end mill, deep cut with upcut
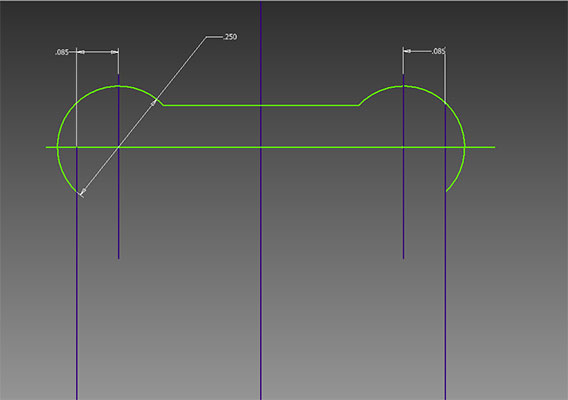
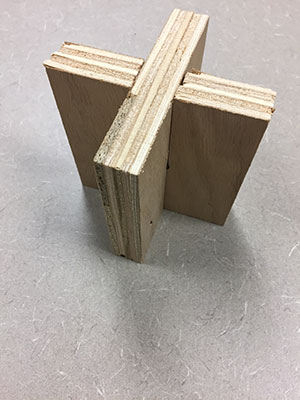
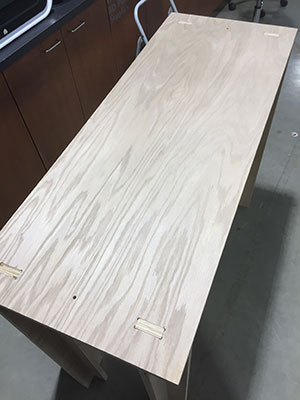
To create a press fit construction with a router make T-bone ends so they fit together.
-The size of the circle on each corner should be the diameter of your endmill. (.25 inches my case)
Find out the size of the bed of the machine to make your life easier while creating the size of your parts. (Ours is 48” – we will be getting a new one next year that is much larger)
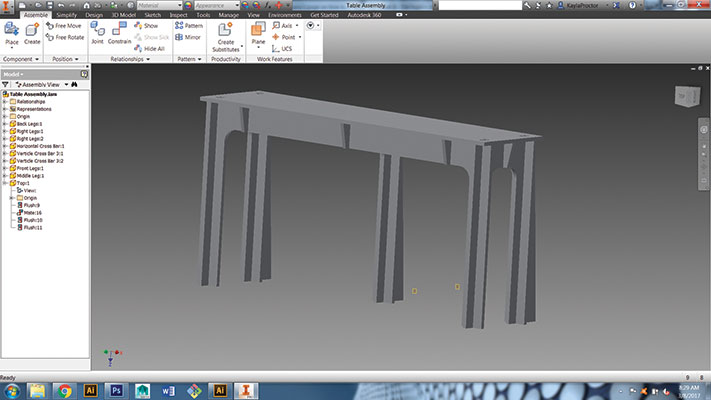
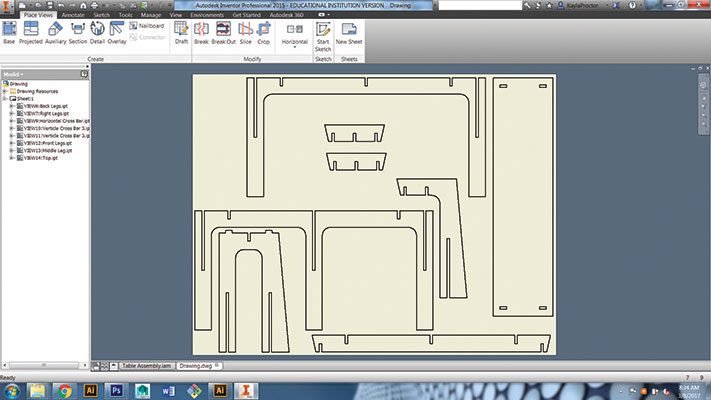
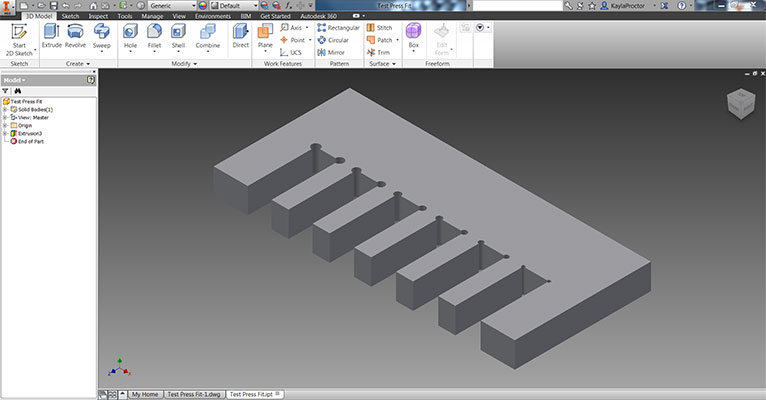
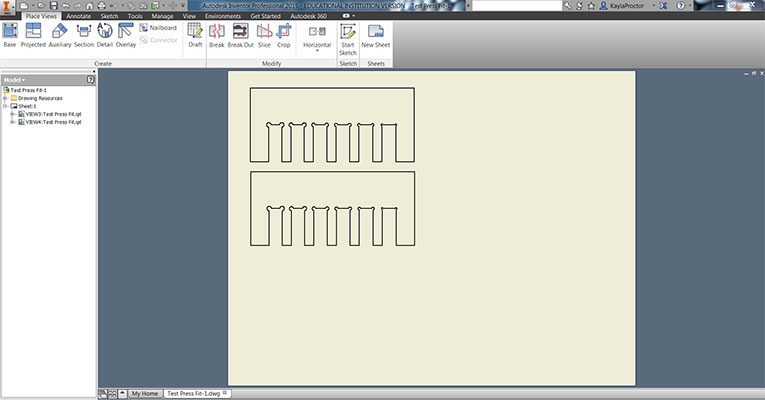
Inventor:
I used Inventor to create all of my parts parametrically. In the end I make all of the fits to .74” which was the exact thickness of my plywood.
-Laser cut test file
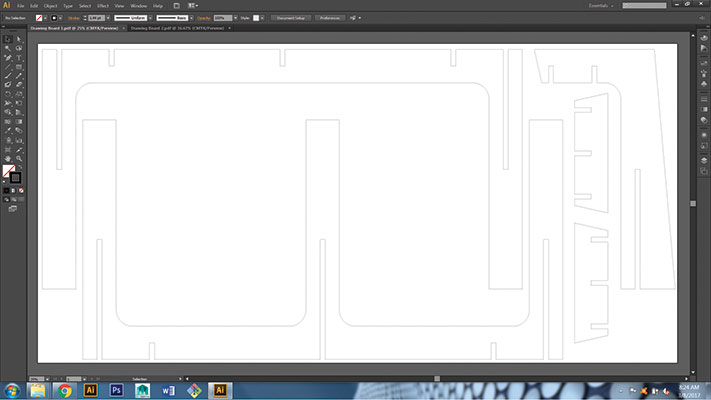
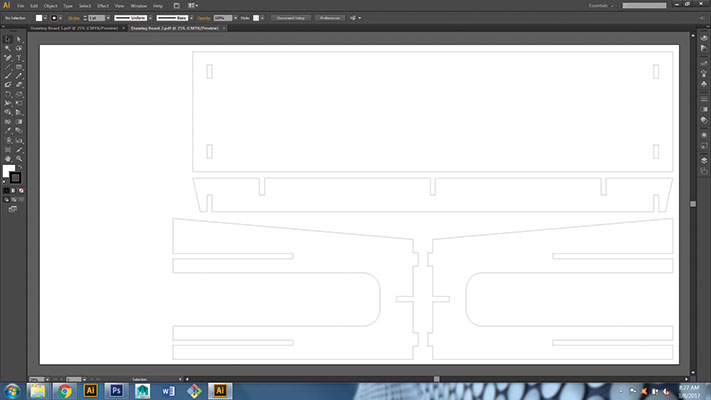
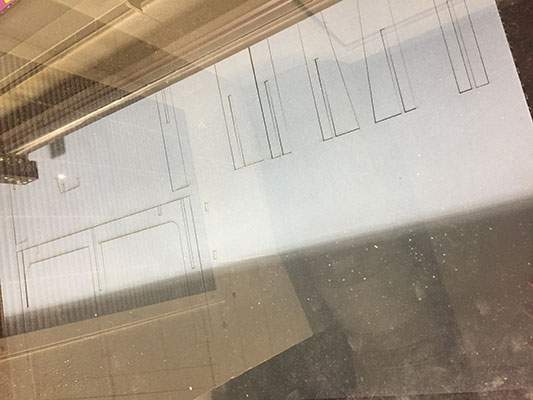
-Press fit tests
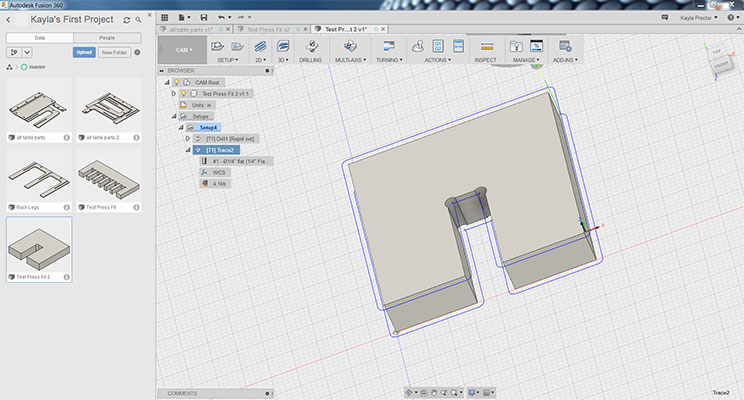
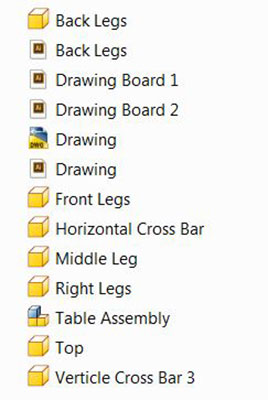
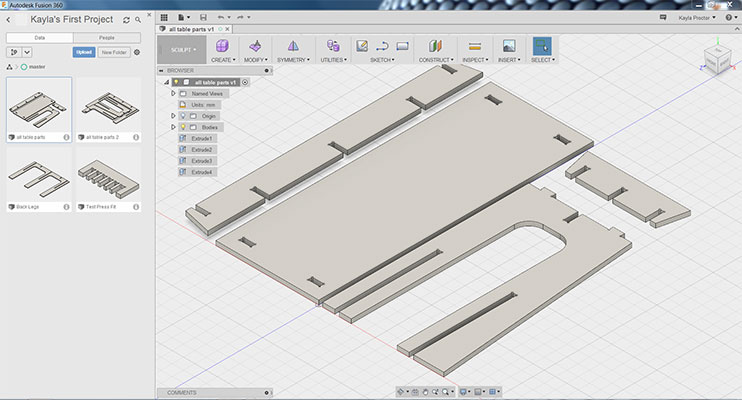
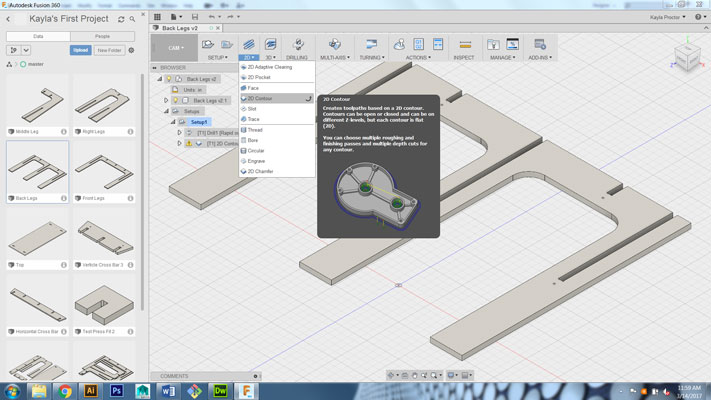
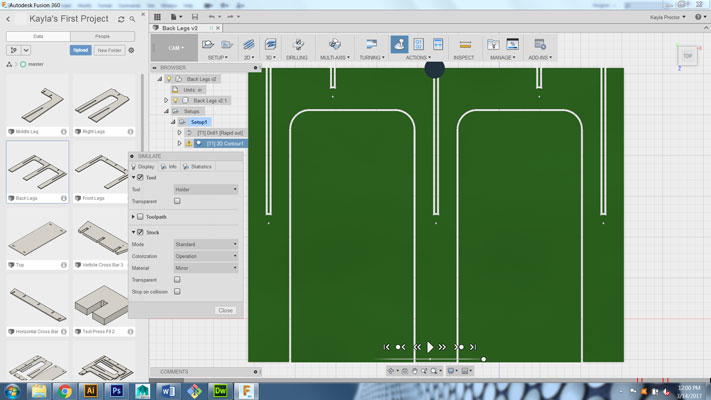
Fusion 360:
In order to set up the parts that I created in Inventor for the CNC Router I learned Fusion 360. It does many different things and I found it a quite useful tool.
These are the steps to follow:
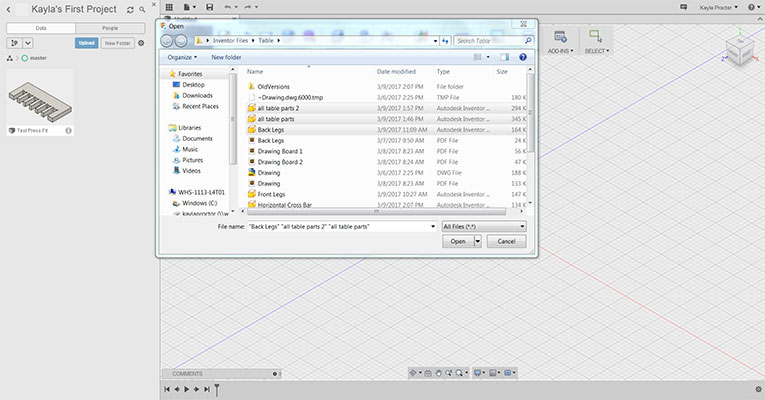
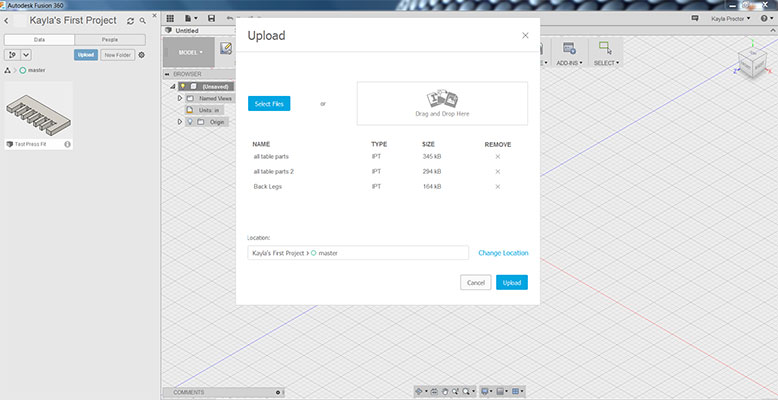
- Upload Inventor file
- Open by clicking on the file
- Sculpt
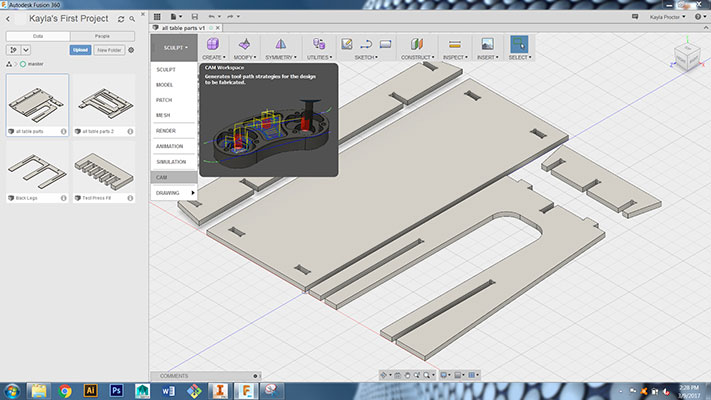
- CAM
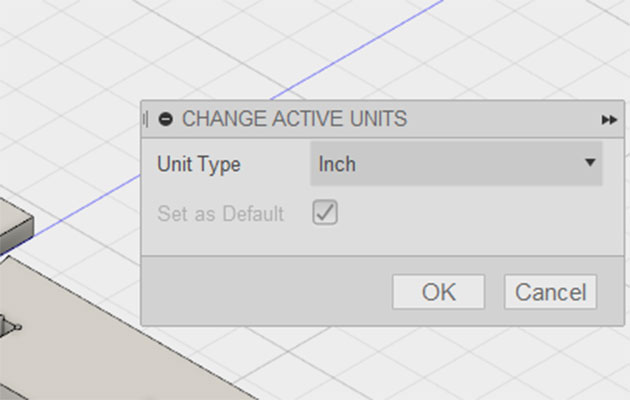
- Change the units (paper next to it) to Inches
- Drilling
- Click on all T-Bone circles
- Hit OK – Then play again from Setup1
- Different options between 2D and 3D cutting
- 3D *I did not use this option*
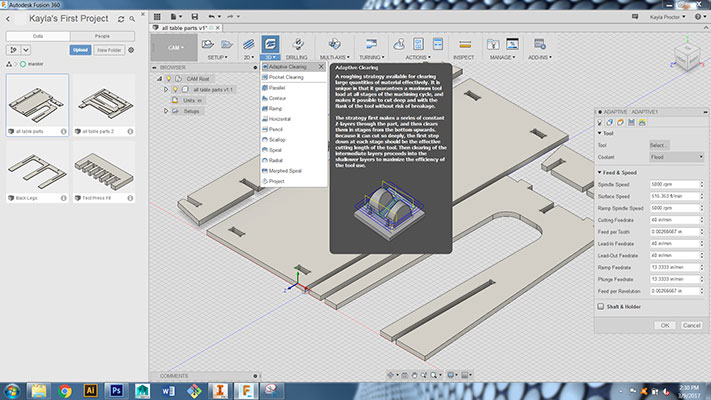
- Adaptive Clearing
- 2D *I used this option*
- 2D Contour
- Select bottom chain
- 2D Contour
- Passes
- Sideways Compensation
- Left Climb
- Multiple Depths
- .2 inches
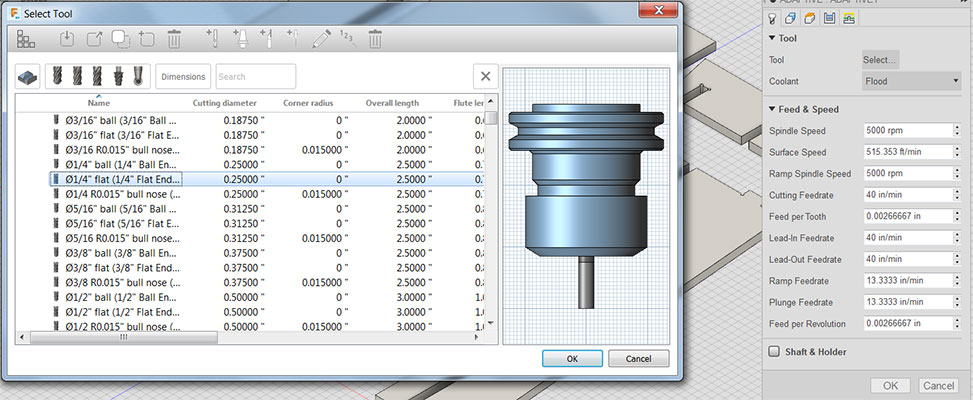
- Tool
- 1/4” Flat End Mill
- OK
- Setup 1
- Stock box point (Origin)
- XYZ axis (Orientation)
- Make sure stock point doesn’t change
- T1 Adaptive Error
- Click & OK
- Bit should move to the correct position
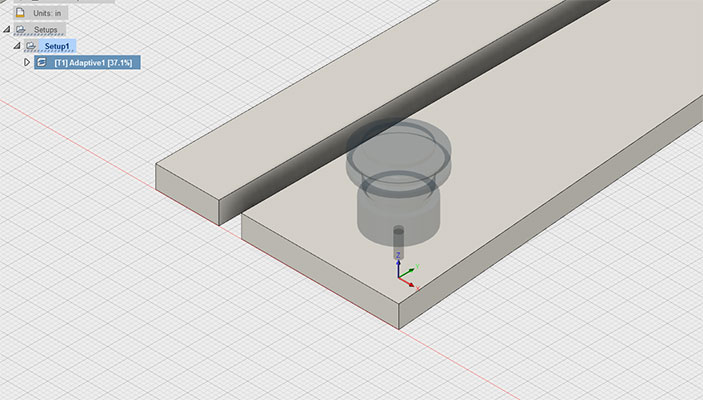
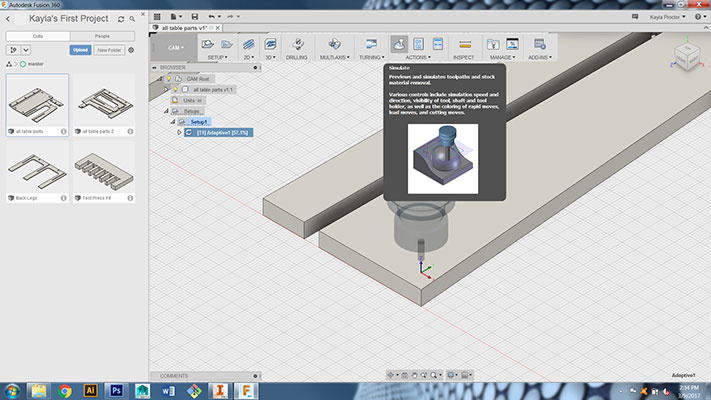
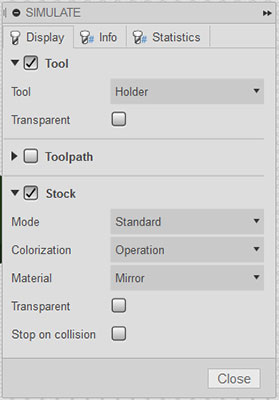
- Actions
- Simulate (Joy stick looking button)
- Turn off tool path
- Turn on stock
- Hit Play
- If you see a red line or a few at the bottom you may need to retrace.
- Actions G1G2
- Output
- Open folder for flash drive
- Post Configuration
- Post (name file)
- Save
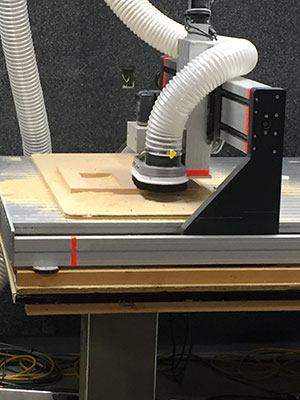
- Go to CNC Router (computer that is set up with it)
- Take flash drive over
- File (in Velocity CNC)
- Open GCODE
- Find File
- Jog
- Move X,Y,Z to origin position
- Zero All
- GCODE
- Start!
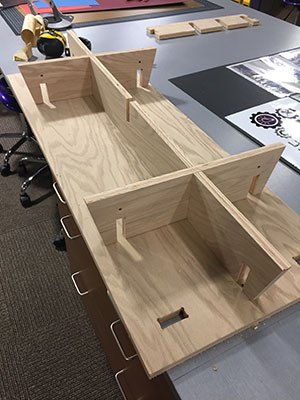
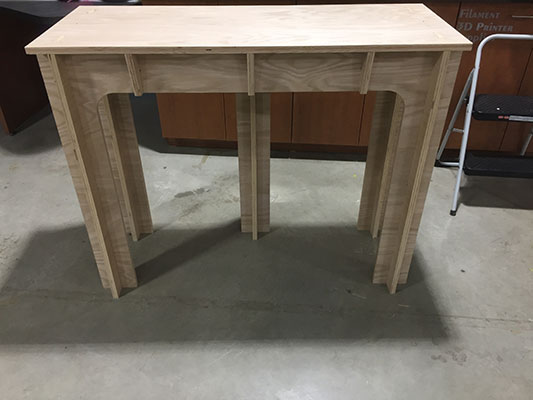
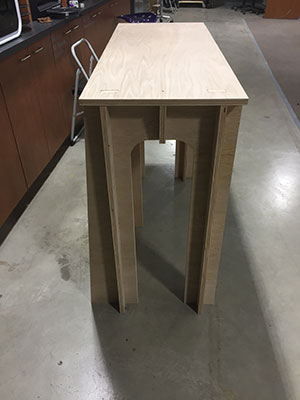
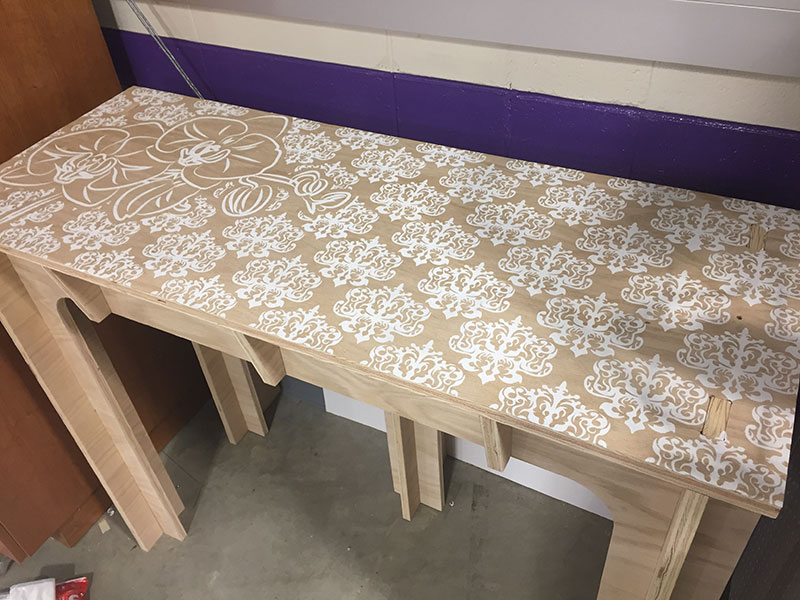
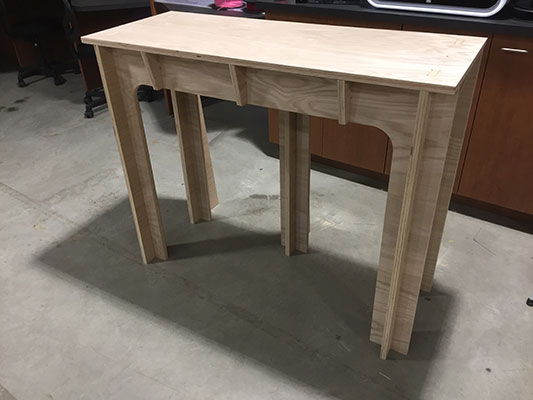
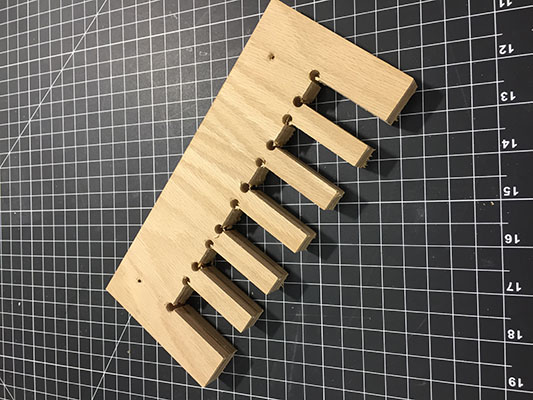
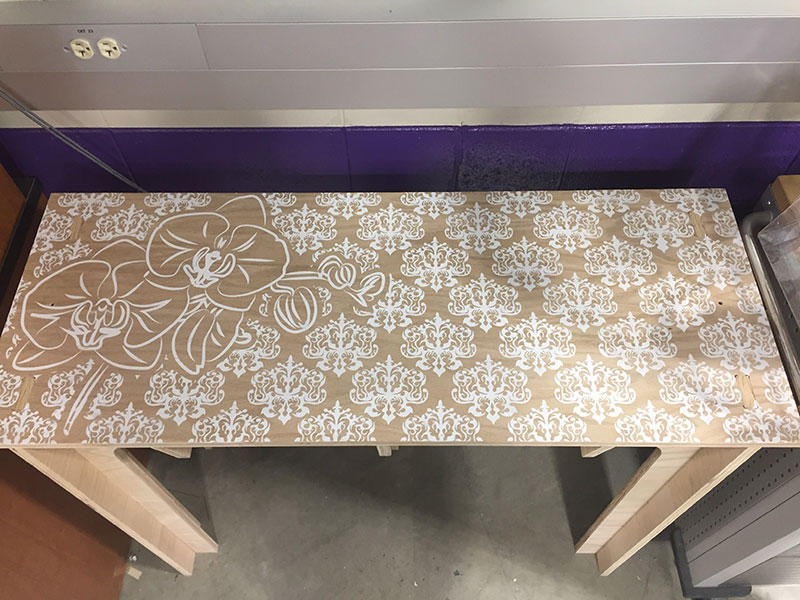
I found that the 2D Contour worked really well with 3 passes. This made the cleanest lines and took the least amount of material and time. I then sanded the edges of my ¾” oak plywood. The table fit together perfectly. I only needed to use the rubber mallet to get the top in place, but not a single screw sits in this table!
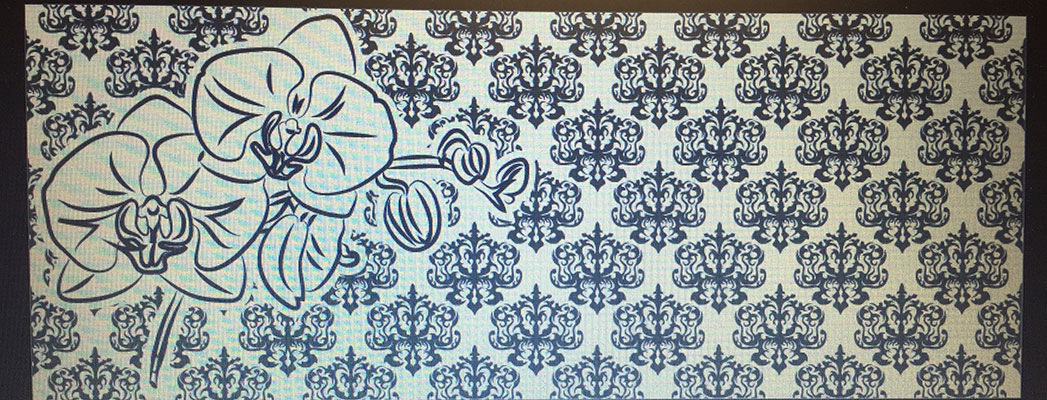
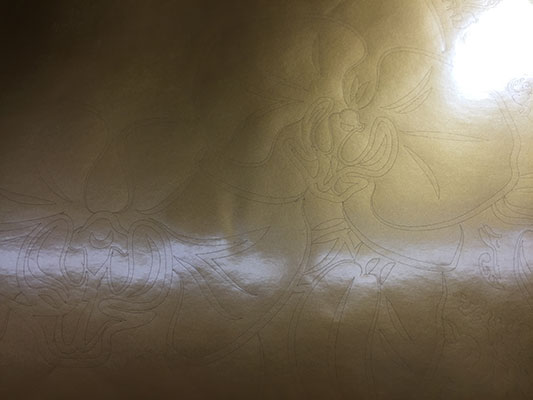
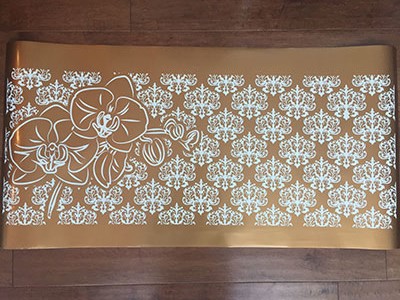
Here is the table with the stencil on it!
Week 7 Photos